Friday, June 6, 2014

Leave good enough alone


...can't.  I'm not capable of that.  Sometimes it's a good thing and other times, not so much.  This time, however, it was good.  Well I think so, anyways.


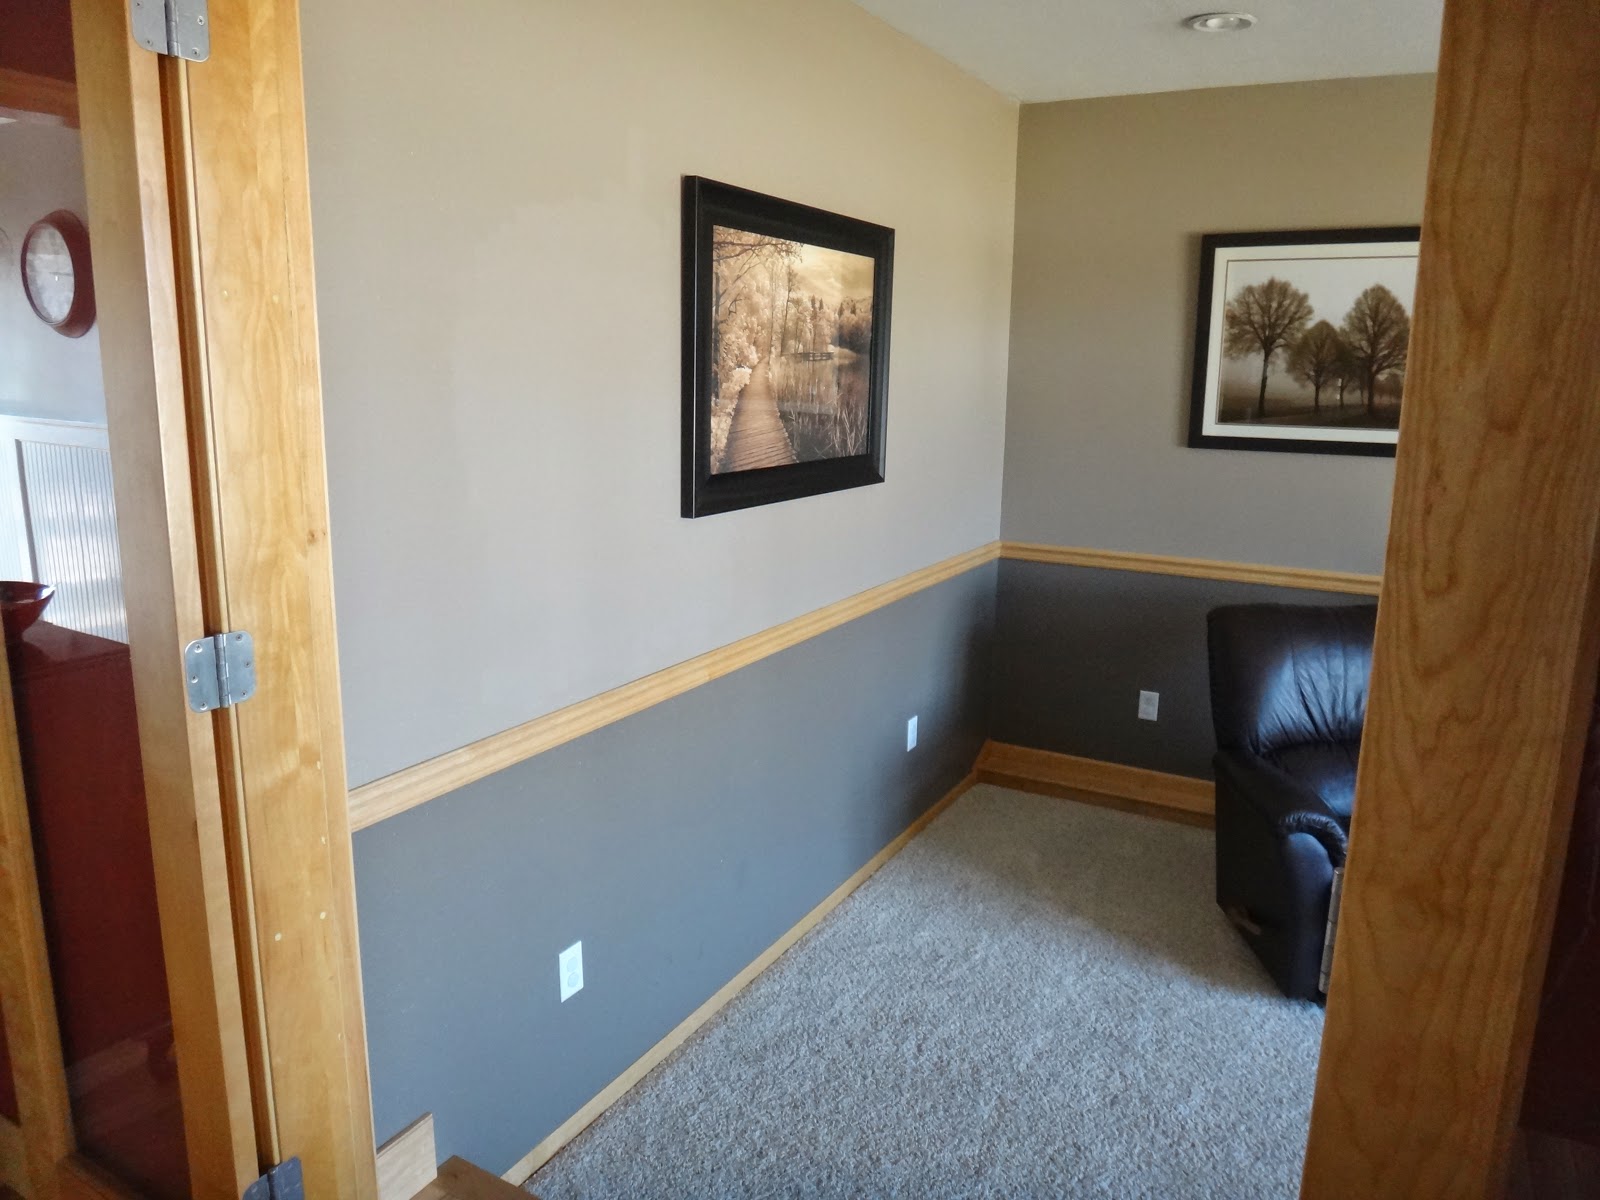
Remember The Wall ?

I thought so.  How could you forget?!

Husband and I thought it needed something a little more so.... Milissa put on her artsy-fartsy cap and here's what happened:

And before you ask, NO - my BFF Pinterest did not tell me about this.  This is a Milissa Original.
I went to a fun little store called Tuesday Morning and happened upon some rope stuff with a burlappy border attached to it. Hmmmmm... a wall border?  What will hold up my border?  Certainly not glue that doesn't dry clear. 

Copperhead nails!  Not sure why, but I have a thing for those... things.  I went across the street from Tuesday Morning to Scheels Home & Hardware - one of my most favorite stores EVER - and found some hammered looking nickel furniture tacks that had the "look" I was going for.  So I guess they're not really copperhead nails but you get my cluckin', right chicken? 

Got my border done.  It was kinda tricky.  It involved me holding the tack with a pliers and hammering it in with the other hand.  I am not what you call a very hand-eye coordinated person so this proved to be challenging for me.  Fingers suffered.  Luckily my friend Summer Shandy is back in town and she helped me out.
 

Next up, the Art piece.
Pinterest did tell me about this one.  If you have ever explored Pinterest, I'm sure you've seen the bazillion projects out there that involve using pallets and pallet wood.  Well, those are all neato and dandy and stuff but I am willing to bet that most of the people that posted those super great crafts, didn't take apart the pallet themselves.  Not fun.  That is a man job.  My apologies to all of my feminist friends out there. 

After an hour of hard labor with a crow bar, numerous splinters, cussing and 2 band aids later, I had myself a SMALL pile of wood.  And so behold my canvas to paint a red "V" on.

Mama's Wall.  Done, done and done.

Thursday, April 17, 2014

Garage Update


I love Spring..... Don't you?


Thought I'd give ya little update on the building project since it's been a while....  We couldn't have picked a better winter to not have a garage to park in.  It's been such a nice, mild winter.  I am so gosh darn happy to live in northern Minnesota during the winter months.

You buying this BS?  I didn't think so.
 
Yay!  A garage!

Gettin' there....
 
We now have an ATTACHED garage with a roof, shingles (we re-shingled the house while we were at it too), overhead doors and Tyvek.  Next up: shakes and siding.  If Mother Nature ever snaps out of her witchy mood, soon we will have cement which means the foyer and garage floor, a front door and a driveway.  And much happier people... Especially Mama because she won't be sweeping up gravel and dirt every spare second of her life. 

Stay tuned and THINK SPRING!!!


Wednesday, April 16, 2014

Welcome to the Jungle


***WARNING***
The following photos may be disturbing to some.  Unless you're a child of the 70's.

No disrespect to Grandma and Grandpa because I'm sure at the time of decorating, this was the shiznit.  Hell, my mom's baby shower for me was held in it so it had to be grand.  But seriously.....

SERIOUSLY.


Behold!  What we lovingly referred to as The Jungle Room.
Yes, that is a carpeted WALL. 
Howie, our beloved cat, may he rest in peace, liked to run through the house and then up and across the wall.  I bet there's not a lot of people that can say, "My cat likes to run across our shag carpet wall."  You're envious, I know.

Breathe....  Breathe.....
 
Just in case you missed some of the groovy features of this room, I will gladly list them for you:
  1. Brown, orange & yellow shag carpeting or what I like to call, Calico shag carpeting
  2. Dark brown paneling
  3. A Calico shag carpet WALL
  4. Wrought iron stair railings
  5. Wooden shakes wall covering (wall to the far right, kinda hard for you to see thank God)
  6. Calico shag carpet plant ledge
  7. Drop-ceiling
  8. Fluorescent lighting
  9. A dude in a maroon velvet shirt 
  10. Baseboard heaters
  11. Squeaky floor insulated with vermiculite (I know you can't SEE it but it was there, trust me)
  12. Calico shag carpeting 
  13. And, calico shag carpeting
  14.  
    When we started to de-clutter the house after we moved in, I found the actual rake for the carpet.  I had no idea what it was at the time.  I thought it was a kids toy rake until my Mom told me what it was for: raking the carpet.  WTF.  I regret junking it as since then, I've gotten into antiquing. 
     
    This was a project I really dropped the ball on when it came to taking photos.  But I do have a really good excuse why.  And if an excuse is good enough, it's not an excuse, it's a reason.  My reason for being a poor photographer/biographer was I was pregnant with Jace during the majority of this remodel and with everything that you saw in that room, we agreed it would be in my best interest (and the baby's) to avoid it so that Jace wouldn't be born with 3 arms, a bowl-cut hairdo, singing 'hey hey we're the Monkees"
     
    I digress.  Again.
     
    Let's take a lookey at today......
     
    Remember the shag carpet wall?  Gone.   
    And if you've noticed, the now-no-carpet-wall has been moved in. This is the wall that we added to make The Mudroom.


     French doors that people would see me running through the house in my underwear:  Gone.
     
    Dark paneling and wooden shakes: Gone.
     
    Plant ledge and huge picture windows: Gone.
    Drop ceiling with horrid fluorescent lights: Gone.
    Wrought iron stair railing:  Gone.
     
    And last but not least.. calico shag carpet: GONE!
    But not forgotten. Obviously.
     
     
    Unfortunately, I wasn't able to find a "before" picture for this side of the room. And it's a shame because where you now see our built-in entertainment center (also built by our buddies at Northland Custom Woodworking) was a tiny room that you would step up into and what we called "The Ham Radio Room." (I will fill you in on what this room was all about soon!  Here's a hint:  it had a ham radio in it.)  The space you see underneath the entertainment center is a cement footing that we were unable to remove so the area the entertainment center fills up was essentially 'dead space' so we made it undead by putting the TV there. Great area for it and the millions of dust bunnies that live behind it. The bunnies are so happy there. They just keep multiplying and I just don't have the heart to get rid of them.  Especially this close to Easter.


Monday, March 31, 2014

These are a few of my favorite things


Who can tell me what this is?  Don't worry, I won't be mad at you if you get it wrong.  Super hubby got it wrong too.  I think he thought it was a Popsicle. 

It's a sailboat on the water in the sunset.  See it now?  Cool, huh?  Grandpa George made this and I was lucky enough to get to keep it.  So it's safely tucked into my china hutch right here:
Perfectly hiding my bottle of Patron.  Shhhh.
 

Grandpa also made these:

These were the windows in the front door of the house.  You''ll have to excuse my next few photos because I couldn't find any photos that I had deliberately taken of the door.  But they'll suffice.
 
 
Obviously, when I took this one, I thought I had the most awesome fake Christmas tree ever.  Dig the carpet it sits on.  Nice.  No presents under the tree either... I'm pretty sure that's because the date of this photo is pre-children and all of our extra money was spent on beer.  I digress.  See the door to the right?  That's the point of this photo.
 

The wood in the door was quite discolored and starting to split and rot so when we did some painting later on, we also painted the door aka polished a turd. 
Now let's take a moment to appreciate the real beauty of this photo... Jace, Daddy and his eternal piece of gum in his mouth. This was taken in 2007 with a camera that used real film and didn't have a screen on it so I have to give an A for the selfie... Pretty impressive.
 
We had to bid farewell to the door but Husband was able to preserve the glass so now they patiently sit waiting to be re-purposed.  I haven't figured out yet what I am going to do with them but when I do, it'll be super neato.  Ideas are welcome.  Maybe I should ask Pinterest... She would probably have some good ideas.  Whatever I do, I promise you'll be the last to know :)


These are some little window corners Grandpa also made... So cute and elegant. 
It's the little things in life.....


In wanting to keep with some of the history of the house, our new front door is also glass.   
Not as interesting as the previous one but still nice.  I've been wondering if I colored the different window panels with magic markers if it would have the same colored effect? The kids could help me with that project.  Husband works long hours in the spring and will be gone a lot so maybe we'll find out then......
Yes, I AM kidding.  What kind of nut job would ever color on their house with magic markers? 
Oh.  Nevermind.


Saturday, March 15, 2014

A penny saved is a penny ...

....used to tile!

The hint was:  Abe Lincoln

I had coffee with my friend Pinterest the other morning and she told me about this FABULOUS idea of using pennies as floor tiling and counter top tiling.  I was smitten.  So I walked around my house (on the inside) trying to find an area in which I could do this fabulous idea...

And I found one!

Ugh.  I am lying.  Dammit.  Super Husband found it.

The fireplace threshold in The Basement!!!  Small (so it won't cost a million dollars) , flat and not right in your face so that if this project ends up sucking (and it ALMOST did), it won't be THAT noticeable.  BUT, if it turns out cool (cool probably isn't the best choice of an adjective here since it's the area right in front of the fireplace...) So if it turns out smokin'  - our guests can easily be directed to the area to admire our awesomeness.

The area.  About 8 square feet.


The helper

It should be illegal having helpers this cute.


Pennies with love


Obviously when you tile pennies, they are not going to completely cover the area so we painted a board with black oil-based paint (gloss finish) to lay the pennies out on.  Hi Patsy.

First we attached the board to the threshold

Then, we laid out the pennies.  The first row is the trickiest but after that, they kind of just slide into place.

Once the pennies were all placed, the next step was going to be to do a pour-on epoxy over them...
BUT, super hubby did a little more reading and decided that we should have glued the pennies to the board.  It would probably be kind of snotty for me to say something like, "I told you so" right about now so I won't.

We picked up aaaaaall of the pennies and started over again so we could glue them down.
One. By. One.

I am going to get in soooo much trouble for giving you the details I'm about to reveal but I'll take one for the team. I feel it's important to tell you all of this and about our 216 mistakes so that if you decide to take on a project like this one yourself, you won't make the same mistakes that we made.  Or throw up every time you look at a penny like I do now.

Use glue that says right on the bottle that it DRIES CLEAR. 
Regular Elmer's Glue that you buy for the kiddos works just fine.

NOT, this glue:


Or this will happen.  It looks like snot oozed through the pennies.  Gross.


So now what?!?!?!?
We start over.  Sort of.

Super (pissed off) hubby sanded the glue down and made the surface all smooth again and then we just painted right over the glue and pennies with the black oil-based paint.
 Once it was almost dry - still a bit tacky - we just started putting the pennies down again.  It was our own sick little penny blackjack table and we kept losing.


The moment has arrived.  We are gonna seal this baby and be done!

So we thought :(

If you ever use a pour-on finish, one of the steps is that once it's poured, you have to pretty much babysit it for tiny air bubbles that begin to appear. 

Like this:

After a few minutes, they started to show up so we did as the directions stated and used a small torch to get rid them. 


They were kinda hard to see so we plugged in our construction light to shine on the pennies so we could see the little bastards when they would make an entrance.  BIG MISTAKE.

The light "baked" an area of the finish and ruined it.

SON OF A CHICKEN IN A BISCUIT!!!!!
(That's not what we really said but I'm trying to keep this blog rated PG)


So..........what in the heck do we do now?  More reading.  More researching.  And I called Pinterest and bawled my head off .  Then pouted.

What we found out:  Pour-on finishes can be sanded, buffed and reapplied.  Thank God.  No more losing at the penny blackjack table. 

Sanding was not an easy task. The air bubbles trapped the dust so an air compressor was used to clean them out.  It was tedious work.  Hateful, actually.  All because of a hot headed light and 2 crazy people on a bubble witch hunt.


Lessons to be learned from this:
  1. Glue the pennies down the FIRST time
  2. Use a glue that dries clear
  3. Don't shine a super-hot lamp on your freshly poured epoxy
  4. Don't eat a a Fiber One bar if you have to be someplace quiet in the next 6 hours.

Ultimately, we prevailed.  We always do :)

Ryan & Milissa -1           Pennies - 0


Tah-dah!

Once the penny project was complete, we were able to put up the brick.

Wasn't too tough, just super dusty.

The brick came in 6" x 24" pieces.  Heavy pieces.
I am proud to say we can now add masonry work to our resumes.


We glued 'em up with a heavy duty adhesive:


April (in 16 days) Fools!  Got ya, didn't I?!?!

We used this:


Ryan started in the middle to get a straight line going and then worked from there.  He used the 2x6's you see here as a brace once he glued the first row. 
 
 
We also mounted the TV bracket at this time too and then bricked around it.
 
 
Done! 
Getting closer to a finished basement.... I think....
 
Stay tuned!